
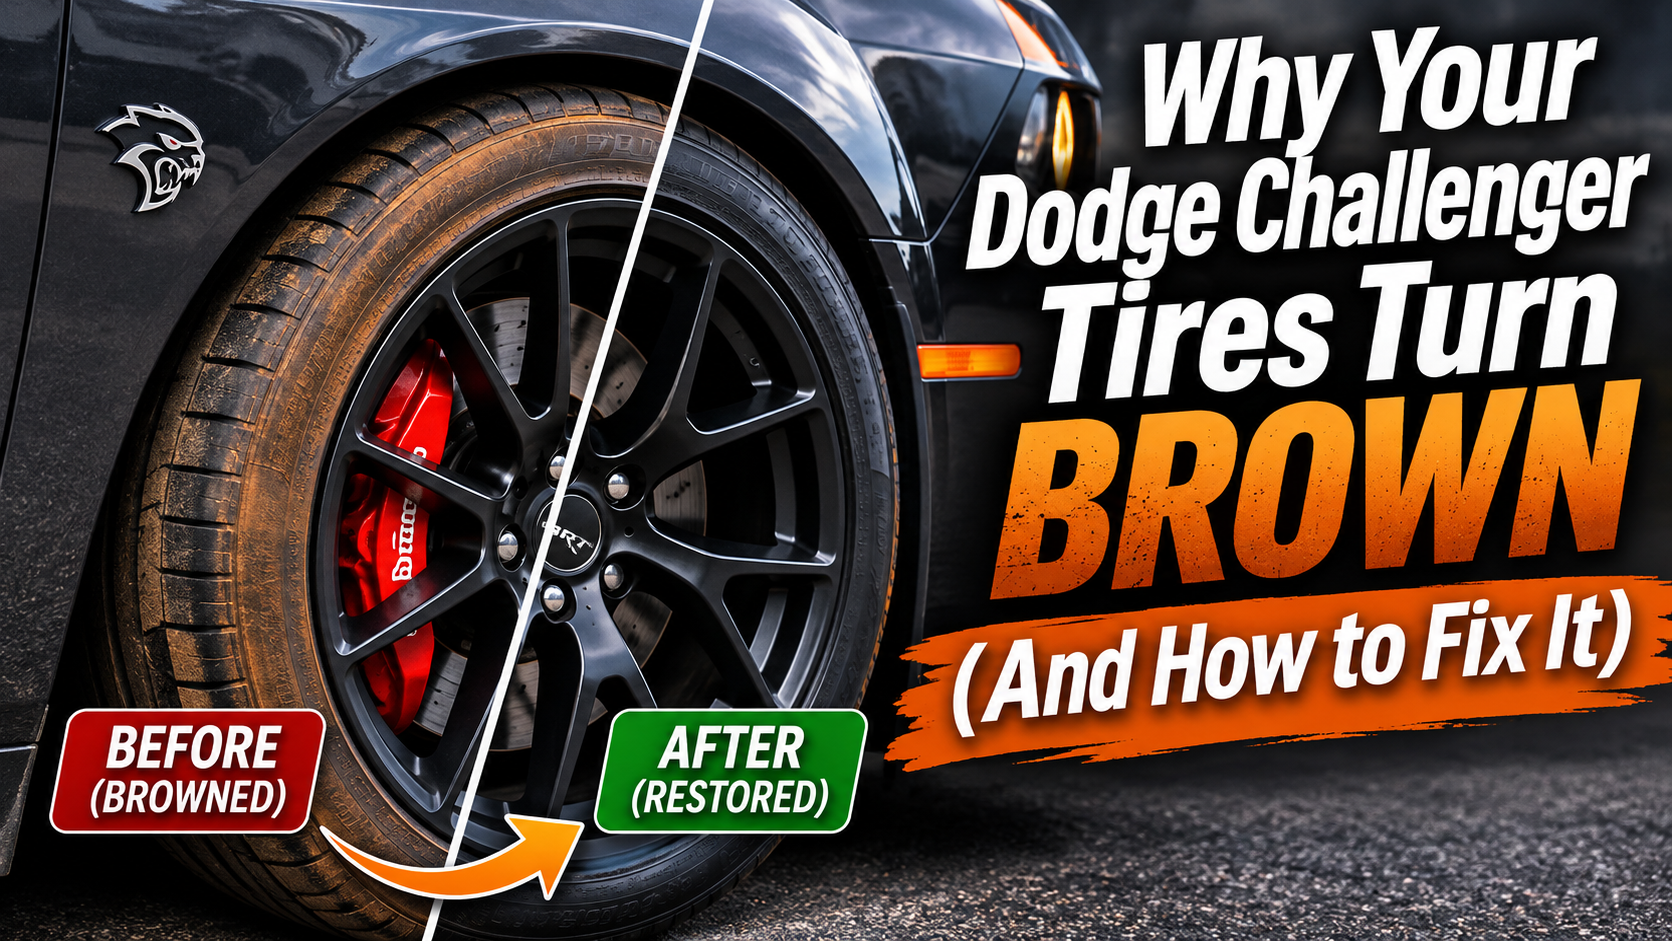
Why Your Dodge Challenger Tires Turn Brown (And How to Fix It)
Few things kill the curb appeal of a clean Challenger faster than a set of dull, brownish tires. Whether you’re rolling a bone-stock SXT or a fully built Scat Pack, those nasty-looking sidewalls can make an otherwise sharp car look neglected — and that’s not a look any of us want. The good news is that brown tires are a completely fixable problem, and once you understand why it happens, the solution is straightforward.
We’ve seen this question come up time and again in our community, so we put together this walkthrough breaking down every cause of brown tire syndrome and the step-by-step process to get your rubber looking fresh again. The whole process takes maybe 15–20 minutes per wheel and requires products you probably already have in your detailing arsenal. Let’s get into it.
Whether you’re prepping your Challenger for a show, a meet, or just want it looking its best in the driveway, this guide has you covered from the cause all the way through the final shine. And if you want to browse what other members are running for their detailing and maintenance setups, check out our Challenger Car Care Recommendations page for community-vetted picks.
Cause #1: Road Grime and Mud Buildup
The most obvious culprit behind brown tires is also the simplest one — dirt. Every time you drive your Challenger, the sidewalls pick up road grime, dust, mud, and all kinds of debris that clings to the rubber surface. Over time, that layer of gunk builds up and gives your tires a dull, brownish, generally uninspired appearance. It’s purely surface contamination, and it’s the easiest of the three causes to deal with.
The fix here is straightforward: a proper wash with Adam’s Wheel & Tire Cleaner and a little agitation goes a long way. If your tires look brown mainly after driving in wet or muddy conditions, this is almost certainly the primary cause. The good news is that the same cleaning process that handles road grime also takes care of the other two causes — so a single routine knocks them all out at once.
Cause #2: Tire Shine Buildup Attracting Dirt
Here’s one that surprises a lot of Challenger owners: too much tire shine can actually make your tires look worse over time, not better. When you apply tire dressing repeatedly without fully cleaning the previous layer first, you get a thick, sticky buildup on the sidewall. That gummy residue acts like a magnet for dust and road grime, trapping it against the rubber and creating that brown, caked-on look.
This is worth keeping in mind if you’re a regular detailer who hits the tires every wash day. More product is not always more. Properly stripping the old dressing before each application — which the cleaning process below handles — prevents this layering issue from developing and keeps your tire shine actually looking like a shine rather than a dirt trap.
Cause #3: Antiozonant Chemicals “Blooming” to the Surface (The Big One)
This is the cause that catches most people off guard, and it’s by far the most common reason Challenger tires — or any car’s tires — turn brown. When tires are manufactured, the rubber compound is infused with antiozonant chemicals designed to protect the rubber from ozone degradation. These chemicals keep the rubber soft, supple, and resistant to cracking, which is why modern tires last significantly longer than older ones. It’s genuinely a good thing for the longevity of your rubber.
The catch is that over time, these chemicals slowly migrate — or “bloom,” as detailers often call it — from inside the rubber to the outer surface. Once they hit the air, they oxidize and turn brown. This is a totally natural process and has nothing to do with neglect or poor-quality tires. In fact, you’ll often see it most prominently on newer tires because those chemicals are fresh and active. It can look alarming the first time you notice it, but it’s not a sign that anything is wrong with your tires. It’s chemistry doing its job — just not very photogenic chemistry.
Step 1: Wet the Tire First
Before any cleaner touches your sidewall, give the tire a good rinse with water. Getting the surface wet first helps the Adam’s Wheel & Tire Cleaner spread evenly, prevents it from drying too quickly on the rubber, and starts loosening surface-level contamination before the chemical work even begins. This is a simple step that a lot of people skip, but it genuinely makes a difference in how well the cleaner performs.
Use a hose or pressure washer on a moderate setting to rinse the entire tire and wheel area. Don’t be shy about getting into the wheel wells and around the calipers while you’re at it — you’re already down there, so it makes sense to wet everything down before moving to the next step.
Step 2: Apply Your Wheel or Tire Cleaner Liberally
Once the tire is wet, apply your Adam’s Wheel & Tire Cleaner or all-purpose cleaner generously across the entire sidewall. You want good coverage so the chemical can grab the surface and get to work on all three types of contamination — the road grime, the tire shine buildup, and the bloomed antiozonants. A product with good cling is worth seeking out here, so the cleaner stays on the vertical surface of the sidewall rather than just running straight off. Adam’s Wheel & Tire Cleaner gets called out specifically for this quality and is a solid option worth considering.
Once applied, let the cleaner dwell for a few minutes. This isn’t a wipe-on-wipe-off situation — the dwell time is where the chemical is actually breaking down the soils. Skipping or shortening this step means more scrubbing work later and less satisfying results. Be patient and let the product do its job before you reach for the brush.
Step 3: Agitate with a Wheel Brush
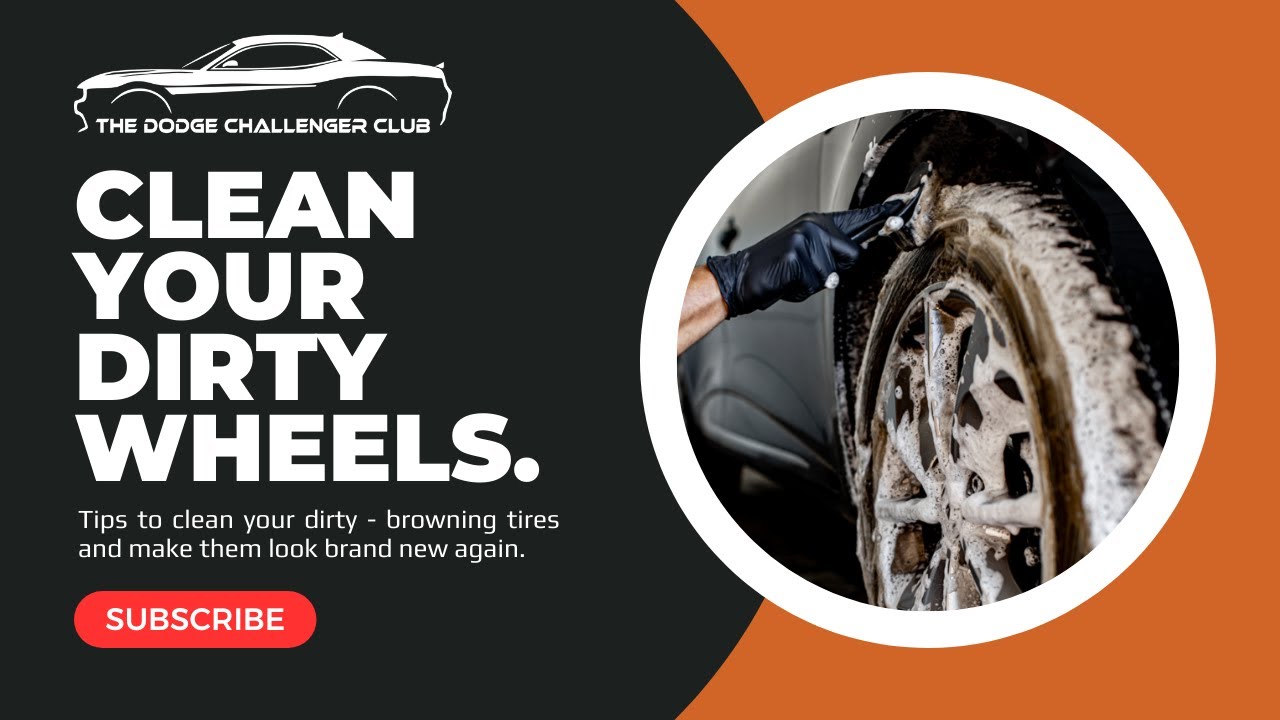
Now grab your dedicated wheel brush — something with a medium-strength bristle texture that’s firm enough to agitate the contamination without being so stiff it risks scratching your wheels. Work the brush in circular motions across the entire sidewall, applying consistent pressure. You’ll see almost immediately that the foam — which started out white and clean — turns brown and nasty as it pulls the contamination off the rubber. That’s exactly what you want to see. That brown lather means it’s working.
Don’t rush through this step. Give every section of the sidewall attention, and work the brush into the grooves and lettering if your Challenger has raised white lettering or any sidewall text. This is where the real cleaning happens, and a little extra time with the brush here means you won’t need to repeat the process.
Step 4: Clean the Rims and Calipers Too
While you’ve got the cleaner applied and the brush in hand, there’s no reason to stop at the sidewall. Hit the rims, the spokes, the wheel barrel, and the brake calipers while everything is still wet and the cleaner is active. You’re already down there doing the work, so make it count. Getting the full wheel assembly clean at the same time gives your Challenger that completely finished look rather than having a clean sidewall next to a dusty, brake-dusted wheel face.
One important point here: use a dedicated wheel-and-tire bucket, completely separate from your car wash bucket. The wheel area is the dirtiest part of the vehicle — brake dust, iron contamination, road grime, all of it — and you absolutely do not want that grit making its way into your wash water and then onto your paint. Keep those buckets separate every single time.
Step 5: Rinse Thoroughly and Allow to Dry
Once you’ve agitated everything and worked the cleaner across the full wheel area, give it a thorough rinse. You want to flush away all of that loosened contamination, the brown foam, and all traces of the cleaner itself before moving on. A good rinse from the top of the tire downward helps carry everything away cleanly. Make sure you’re getting into any crevices in the wheel face and rinsing the calipers as well.
After rinsing, allow the tire to dry before applying any dressing. You can towel-dry the wheel face if you prefer, but the sidewall should be allowed to air dry or be dried with a clean microfiber before the next step. Applying tire dressing to a wet surface dilutes the product and leads to uneven coverage — worth the extra few minutes of patience to do it right.
Step 6: Apply a Tire Dressing for the Finished Look
Once your tires are clean and dry, the final step is applying your tire dressing of choice. This is what takes the sidewall from clean to genuinely impressive — a good dressing brings back that deep, rich black color and makes your rubber look practically brand new. Apply it evenly across the sidewall using an applicator pad, working it in and ensuring consistent coverage all the way around.
The choice between a glossy or matte finish comes down to personal preference. A lot of Challenger owners on stock or street builds prefer a natural or satin finish, while show builds often go for a higher gloss. Either way, the key is working in thin, even layers rather than piling product on — which, as we covered earlier, is exactly how the buildup issue starts in the first place. A clean base and a moderate, even application will keep your tires looking great between washes and slow down how quickly that browning returns.
Tips and Best Practices for Keeping Challenger Tires Looking Sharp
Always use separate buckets for wheels and paint. This cannot be overstated — wheel buckets stay on wheels. Cross-contaminating your paint wash water with wheel grime is a fast path to swirl marks and scratches on your Challenger’s finish.
Don’t skip the dwell time. Letting your cleaner sit for a few minutes before brushing makes a significant difference in how effectively it lifts the contamination, especially with antiozonant browning. Rushing this step is the most common mistake we see.
Strip old dressing before each application. Every new cleaning session should remove the previous layer of tire shine before you apply fresh product. This prevents the sticky buildup that traps dirt and creates that chronic brown look.
Antiozonant browning will return — that’s normal. Because blooming is an ongoing chemical process built into the tire, brown tinting will come back over time no matter how clean your tires are. This isn’t a failure of your detailing routine; it’s just the nature of the rubber compound. Regular cleaning keeps it in check.
Keep your wheel cleaning kit stocked and ready. Having a dedicated wheel brush, a quality cleaner, and a tire dressing on hand means you’re never tempted to skip the wheel detail during your wash routine. If you’re looking for detailing gear and other maintenance essentials, our Challenger Deals & Perks page is worth bookmarking.
Pair great-looking tires with great-looking wheels. If your Challenger is running drag radials for track days, those sidewalls see even more stress and contamination than street tires. Build the cleaning routine into your post-track day checklist. And if you’re running a ceramic coating on your wheels, make sure your cleaner is ceramic-safe before applying it.
Frequently Asked Questions
Why do my Challenger tires turn brown even when they’re brand new?
Brand-new tires can actually show browning faster than older ones because the antiozonant chemicals infused during manufacturing are still very active and bloom to the surface quickly. This is completely normal and not a sign of a defect. Giving new tires a thorough cleaning shortly after the first few drives and establishing a regular cleaning routine will keep the browning from becoming a chronic issue.
Can I use my regular car wash soap on tires?
You can, but a dedicated wheel and tire cleaner will do a significantly better job, especially against antiozonant browning and old tire dressing buildup. Regular car wash soap lacks the stronger chemistry needed to break down those types of contamination efficiently. A product with good cling designed specifically for wheels and tires is the better investment for this job.
How often should I clean and re-dress my Challenger’s tires?
As a general guideline, cleaning the tires every time you wash the car and applying a fresh tire dressing after each clean is a solid routine. If you’re driving the Challenger regularly, that might mean once a week or once every two weeks. For show cars or garage queens that see less road time, you can stretch it longer — though antiozonant browning can appear even on a parked car.
Is tire browning harmful to the rubber itself?
No — the browning you see from antiozonant bloom is actually evidence that the rubber’s protective chemistry is doing its job. Those chemicals are there to prevent ozone cracking and degradation, which genuinely extends the life of your tires. The brown color is cosmetic and doesn’t indicate any structural or safety issue with the tire. Regular cleaning removes the discoloration while the chemistry inside the rubber keeps doing its work.
Keep Those Sidewalls Looking as Good as the Rest of Your Build
Brown tires are one of those issues that looks worse than it actually is — and once you understand the science behind why it happens, it stops being frustrating and just becomes part of your regular maintenance routine. Road grime, tire shine buildup, and antiozonant blooming are all completely manageable with a wet rinse, a good cleaner, some time with a wheel brush, a thorough rinse, and a quality tire dressing. That’s the whole recipe, and it works every time.
Our community takes a lot of pride in keeping these cars looking as sharp as they perform, and details like clean sidewalls matter. Whether you’re building a full show car or just keeping your daily Challenger dialed in, the wheel and tire detail is one of the highest-impact parts of any wash routine. For more community-vetted maintenance tips, build ideas, and gear recommendations, browse our Challenger Videos archive — there’s plenty more where this came from.
Some links in this post are affiliate links, which means the club may earn a small commission at no extra cost to you. Read our affiliate disclosure.
Talk Challengers with fellow owners in our Facebook group, and got a build to show off? Submit your Challenger to the Member Garage.